Polymail Calendar Scheduling lets you share your availability and let people book meetings and events directly within your calendar. This feature is for Gmail and Microsoft users - we do not support IMAP calendars.
Setting up your Polymail Calendar:
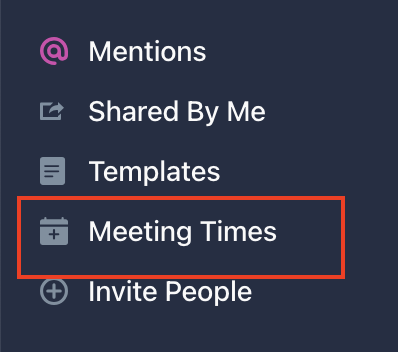
In Polymail Web or our Desktop app and click on the Meeting times tab in the left side bar.
Once you're here, click the blue "Create New Availability" button. Your Calendar settings will appear:

Here you can configure your Calendar Scheduling options.
Your Polymail calendar link
Your Polymail calendar link is what you will send to people so they can schedule meetings and appointments with you. This is partially customizable and you can specify what you would like to appear after the slash that appears in the screenshot. For example, my calendar URL could be:

Once you've set your Polymail calendar link, you will want to save that change by clicking the blue Save button in the top right corner. If you need to copy your URL in the future, you can click the Copy URL button in blue to the right of your calendar link.
If you are a Team or Enterprise user, you can disable Polymail branding on your Polymail calendar. Pro users will not be able to do so.
Event Name
You can specify your event names. For example, you could title them "30 min. meeting," "Conference," "Skype chat," etc. This will appear on both your calendar and that of the person booking the event.
Event Location
This will let the person booking your meeting know where your event will be or how it will take place. If you're meeting in person, you can specify your office or meeting place. If this is online, you can give them a heads up with something like "Google Hangouts" or "Skype," etc.
Available Meeting Times
You can specify which days and which hours of the day you are available to meet. Any times outside of the slots you specify here will not be available to select by the person viewing and booking from your Polymail calendar. You can also specify your location to prevent confusion over time zones.
Event Duration
Here you can choose how long your time slots are. We have a minimum length of 20 minutes and a maximum of 1 hour. If the person booking needs more than 1 hour, they can book multiple slots.
Buffer Window
You can specify a buffer time for your Meeting Availabilities. If you have any existing event within the buffer window, we won't allow that time to be bookable!
Add new events to calendar
Polymail automatically pulls your calendars from the email addresses you've synced to your Polymail account. With this option, you can select which of your synced calendars new events will be scheduled to. For example, I have two calendars synced. I can choose whether I want new events booked to my personal work calendar or my company's work calendar.
Prevent Double bookings
Want to make sure you're not over-committing? Polymail can automatically check your calendars before letting people book time slots that have already been taken. This option will automatically block out any time that you've already committed elsewhere.
-------------------
Once you've finished configuring your calendar settings, click the blue Save button in the top right corner. You can view your Polymail calendar by clicking the blue "View Polymail calendar page" that now appears in the top right. This is what your recipient will see when they click on your Polymail calendar link:
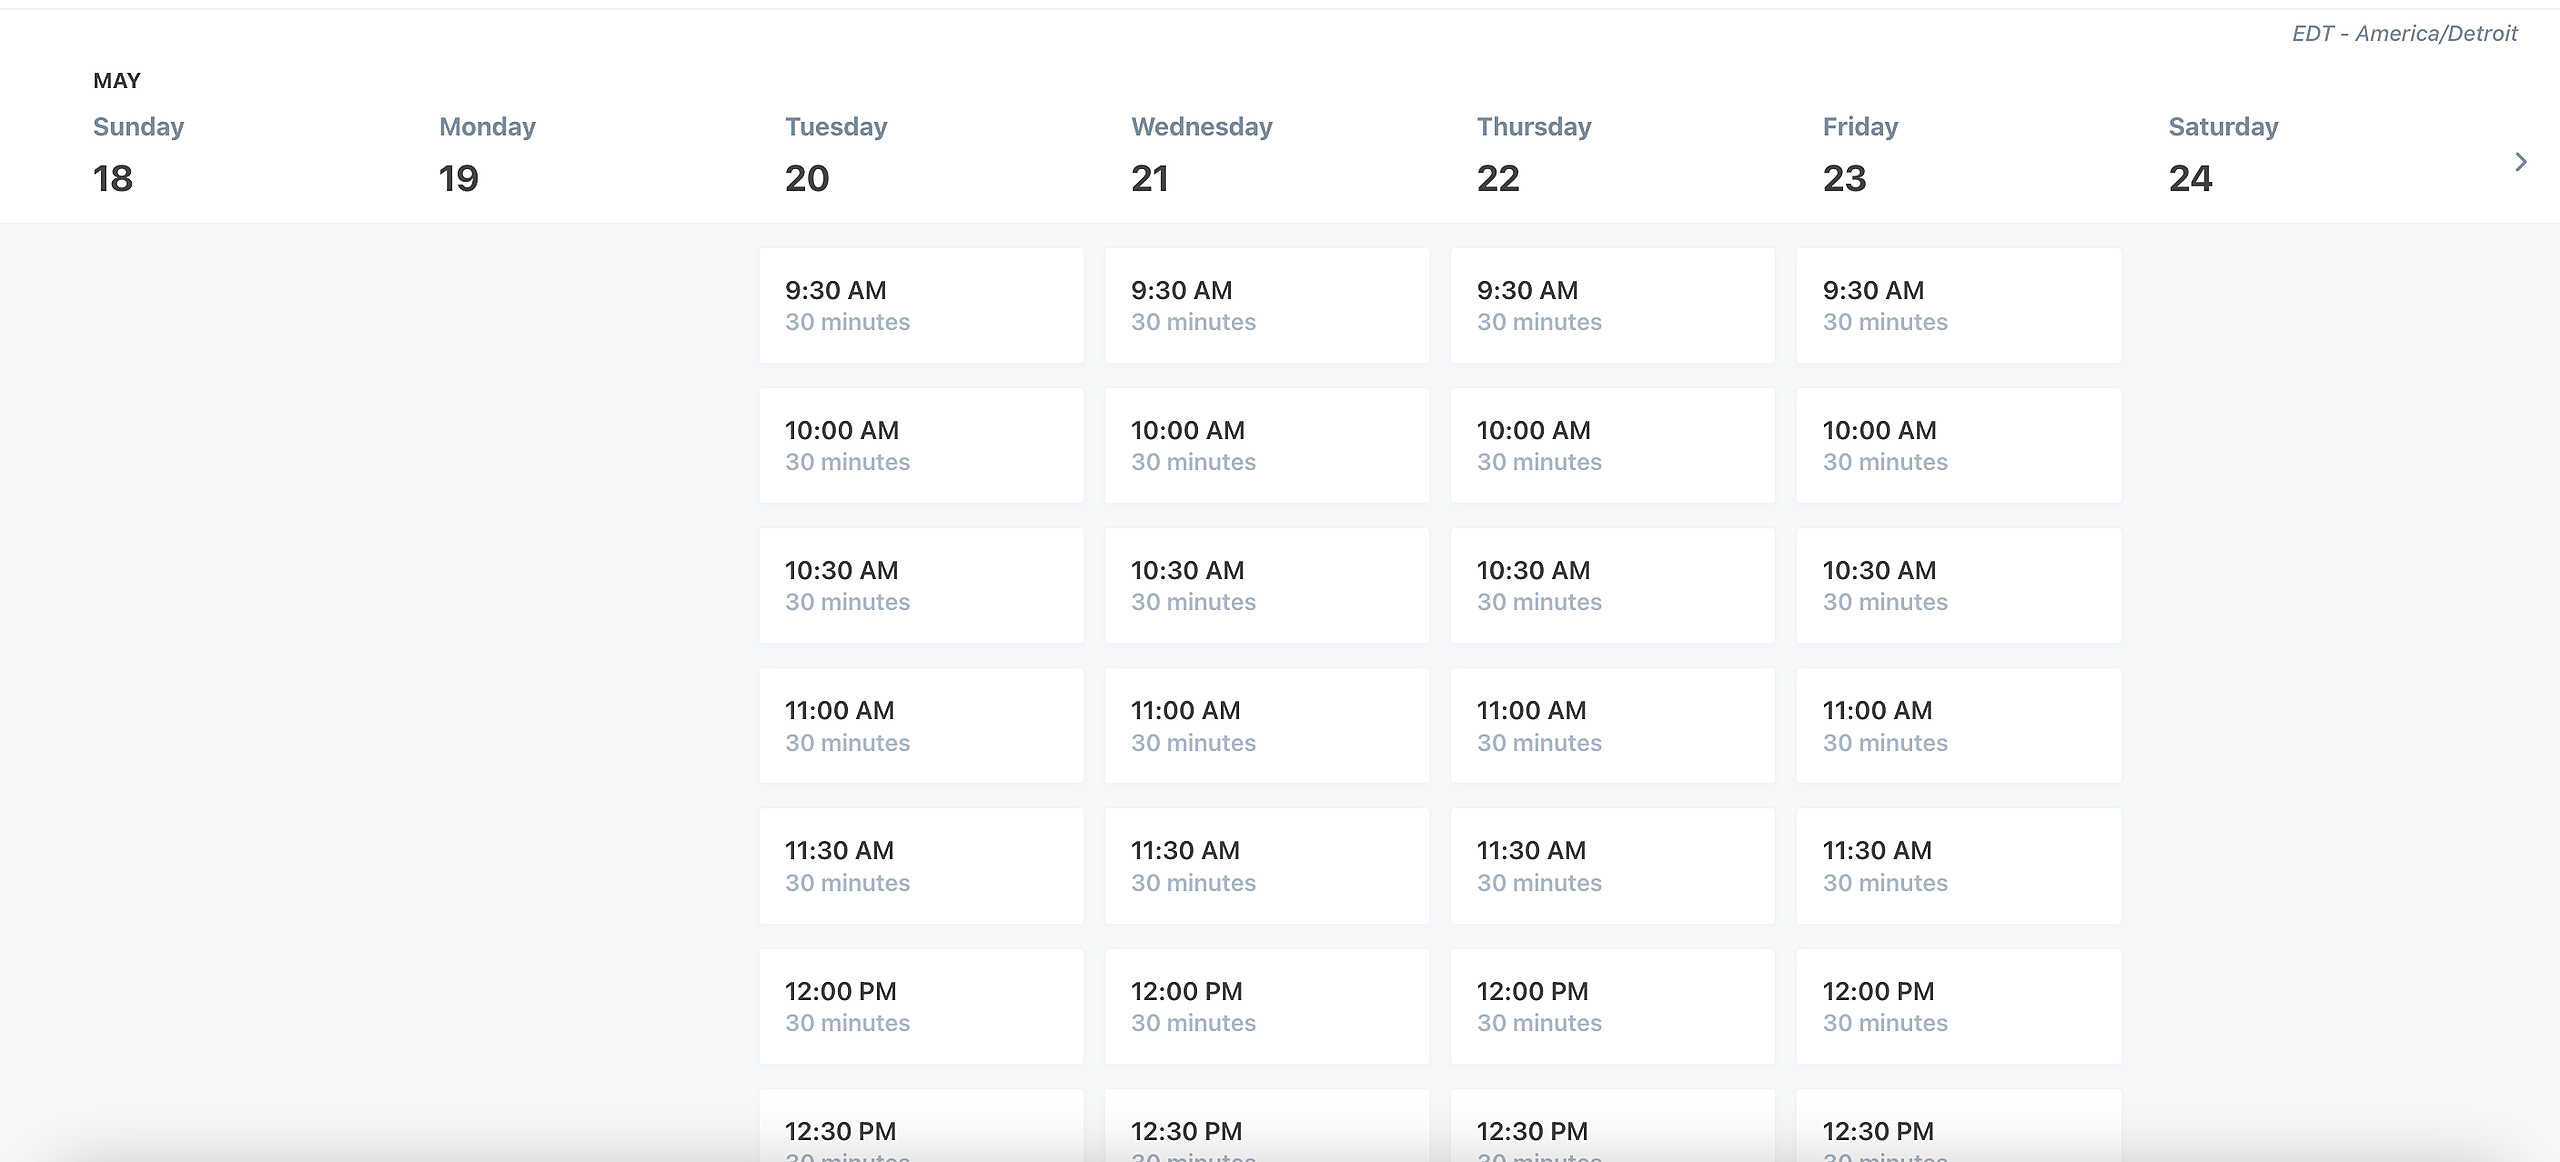
The white slots are available to be booked. Anything in grey is unavailable. We make the next 90 days viewable and available for booking.
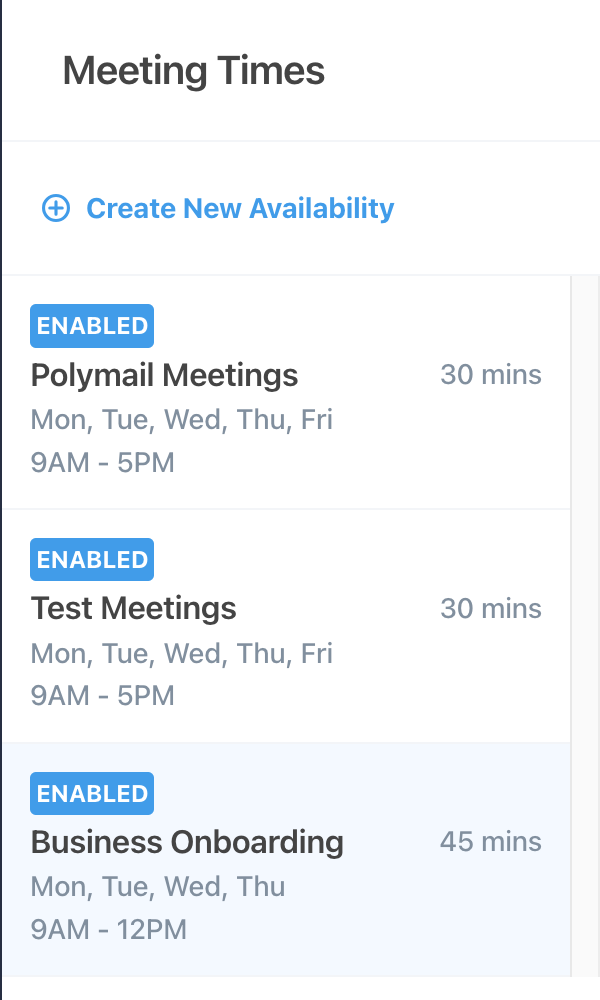
Multiple Scheduling Pages
You can create and manage different meeting types for different occasions! Each meeting page will have their own rules, duration, location, and buffer times! Multiple scheduling pages are available to Premium and Enterprise users.
Booking an appointment
When someone clicks on an available time to book with you, they will see this form asking them for a few personal details:
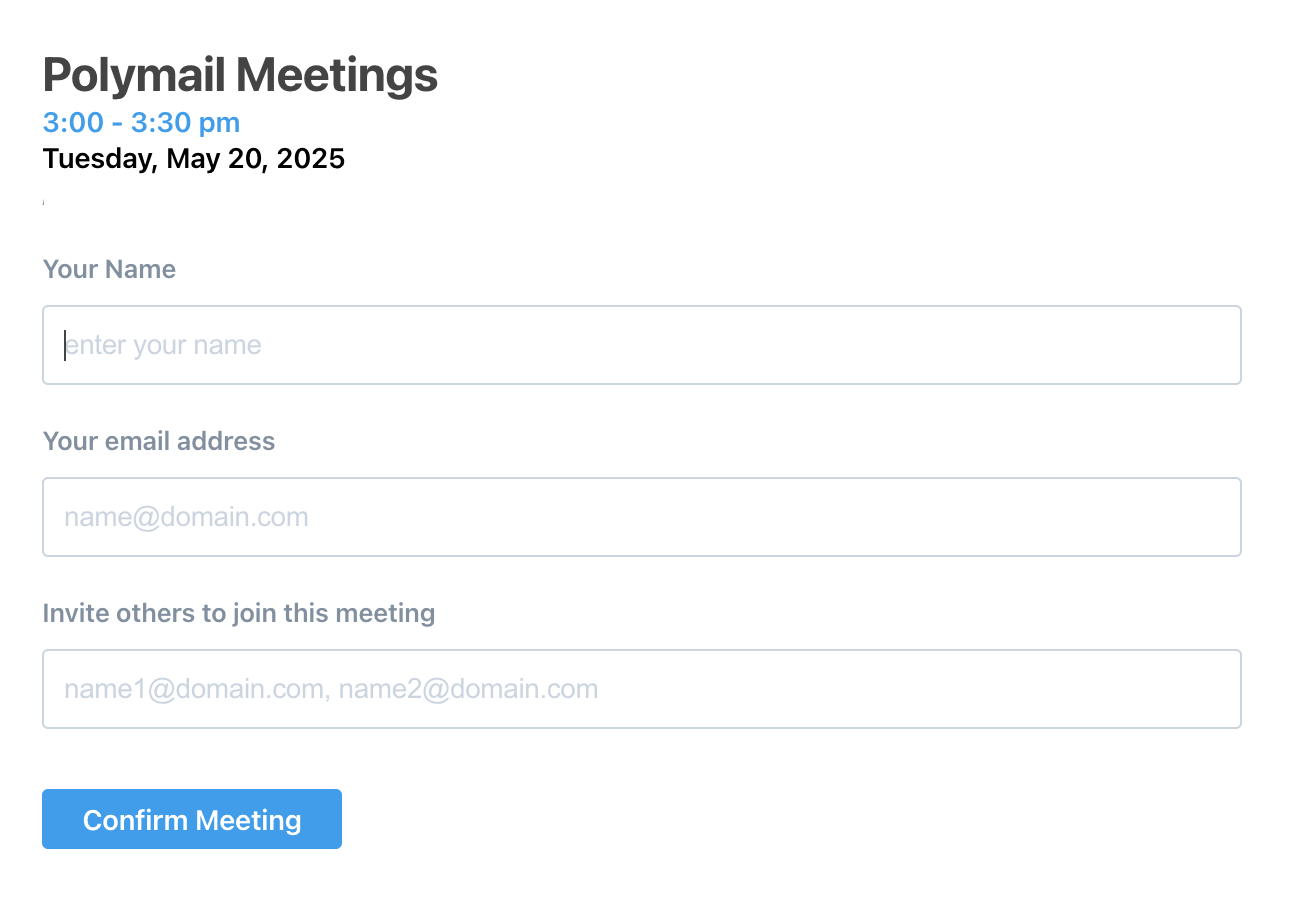
Once they fill out their name and email address, they will click the blue Confirm Meeting button and see this Confirmation page:

You will both receive confirmation emails and the calendar event will automatically be added to your calendar. The person booking the appointment will be asked to accept or decline the invitation.