Polymail Sequences make it easy to manage outreach and follow-ups by sending a series of automated, personalized emails to your contacts. Ideal for sales, recruiting, or onboarding, Sequences help you stay consistent while saving time.
Available on Premium and Enterprise plans. Send unlimited Sequences with up to 20 stages each.
Where to Find Sequences
You can access Sequences in Polymail Web or our Desktop app:
Click your name or profile in the bottom-left corner.
Select Sequences from the menu.
⚠️ Sequences are not currently available in the iOS app.
Creating a New Sequence
Click the + New Sequence or Create Sequence button in the top right.

You'll be taken to the Sequence editor, where you can name your Sequence by clicking the title at the top.

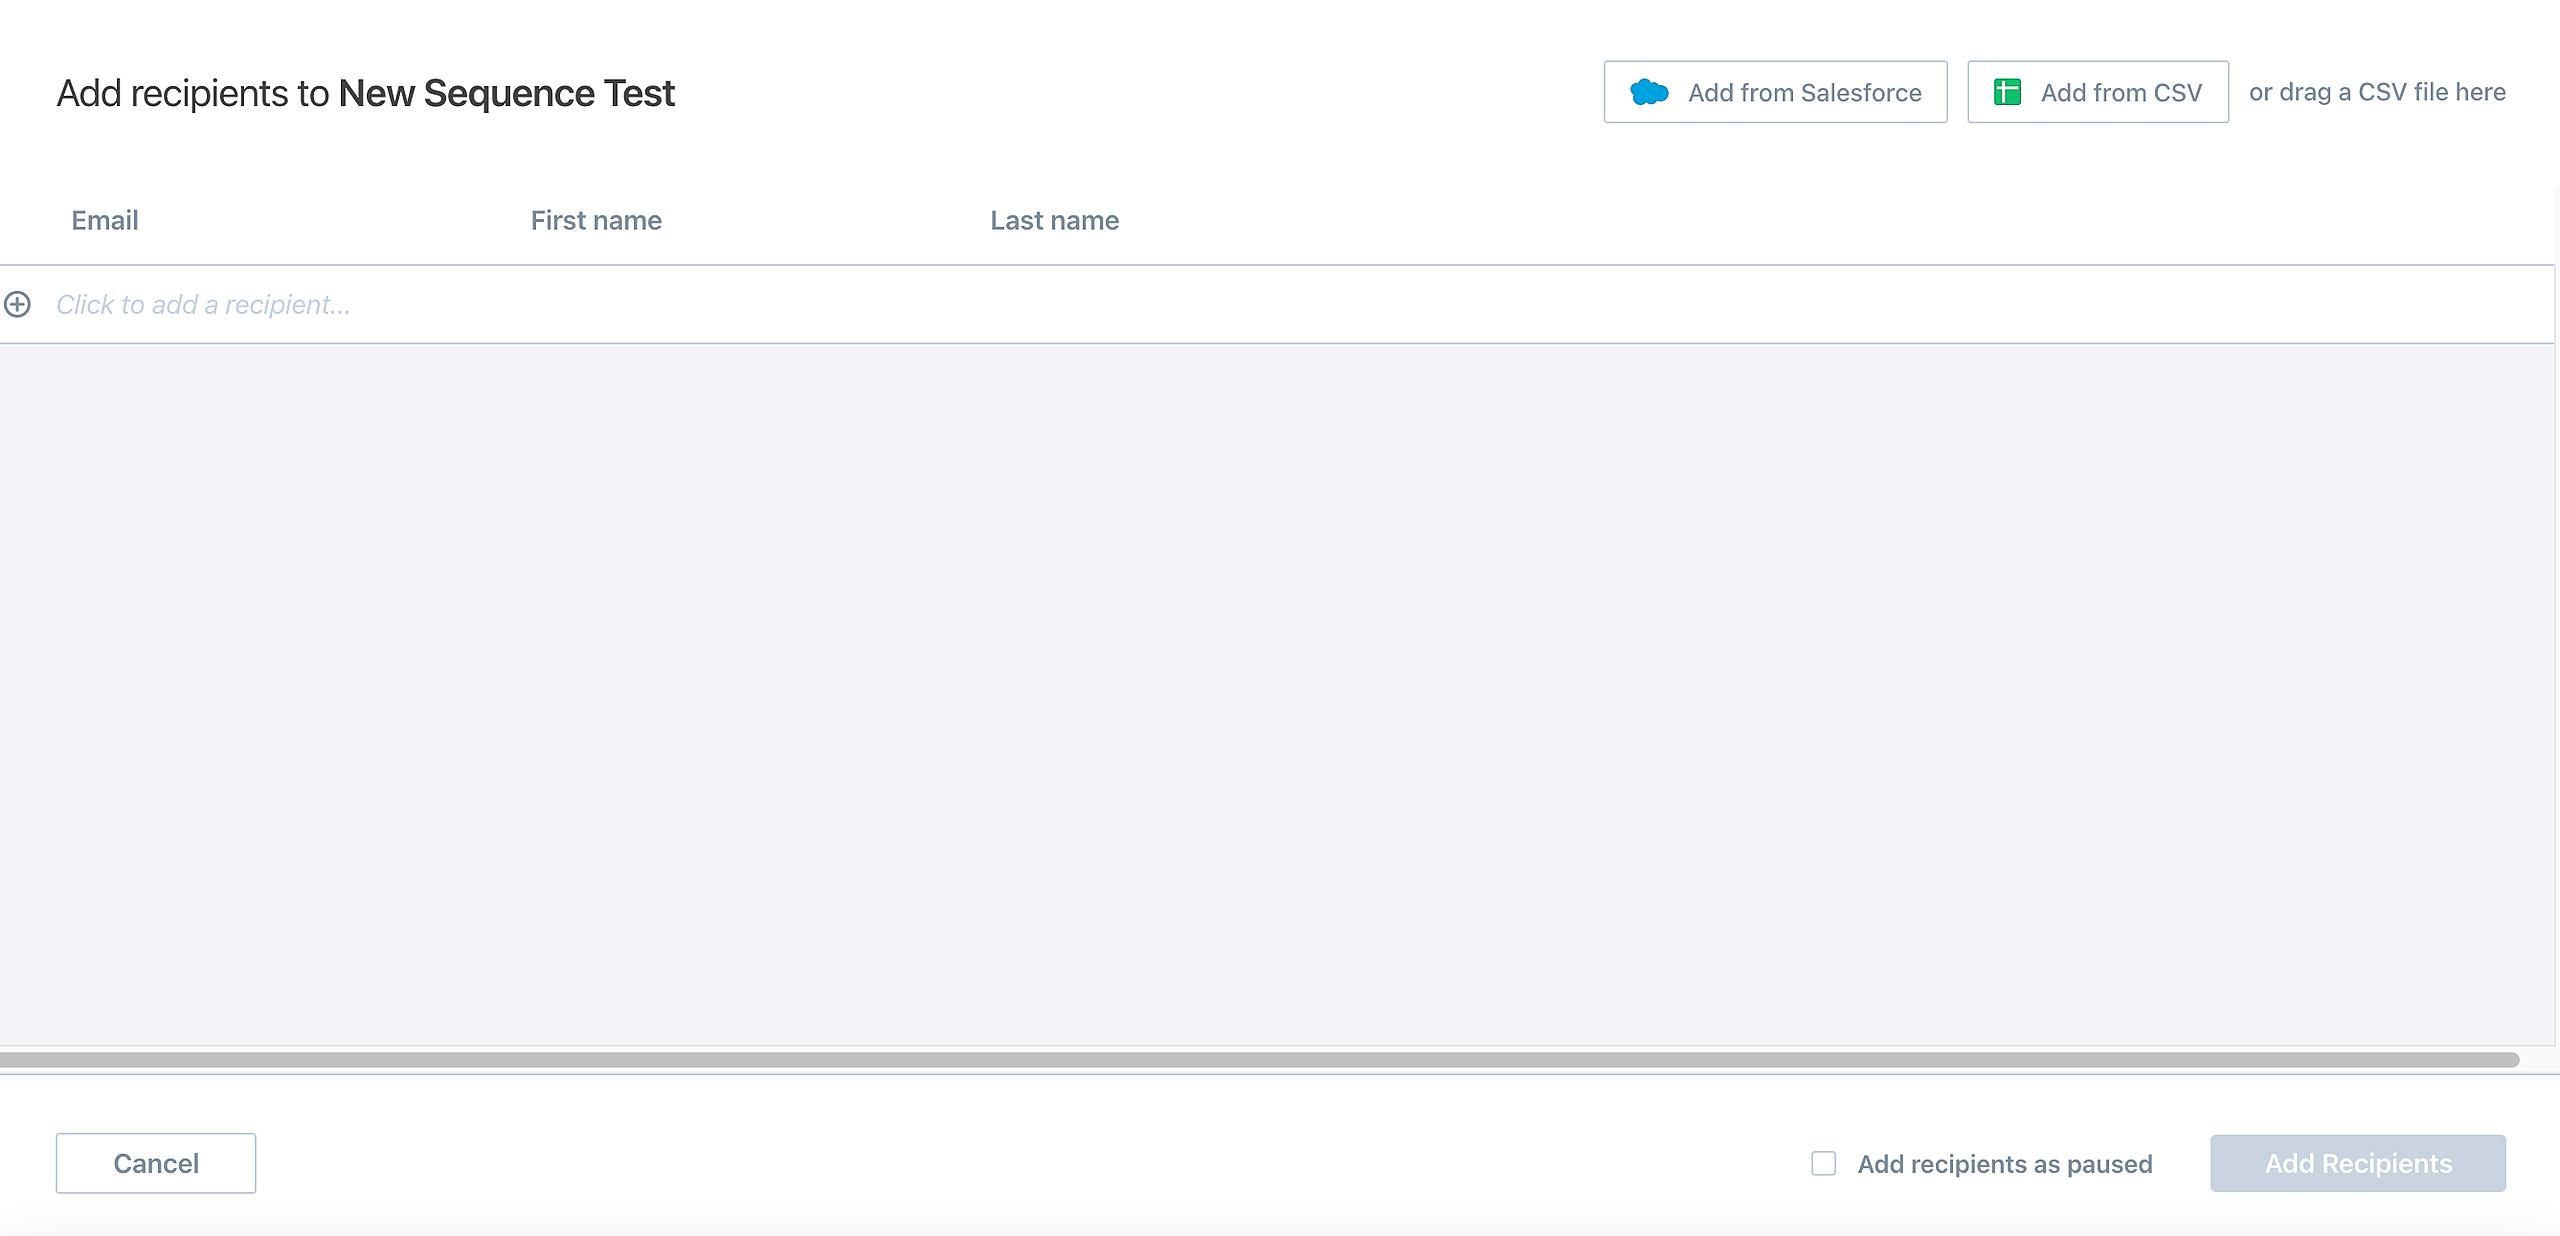
Adding Recipients and Variables
Click + Add Recipients to upload or manually enter recipients:
CSV upload: Drag and drop your file or use the "Add from CSV" button.
Manual entry: Type in each recipient's name and email.
Enterprise only: Click Add from Salesforce to import from Contacts or Leads.
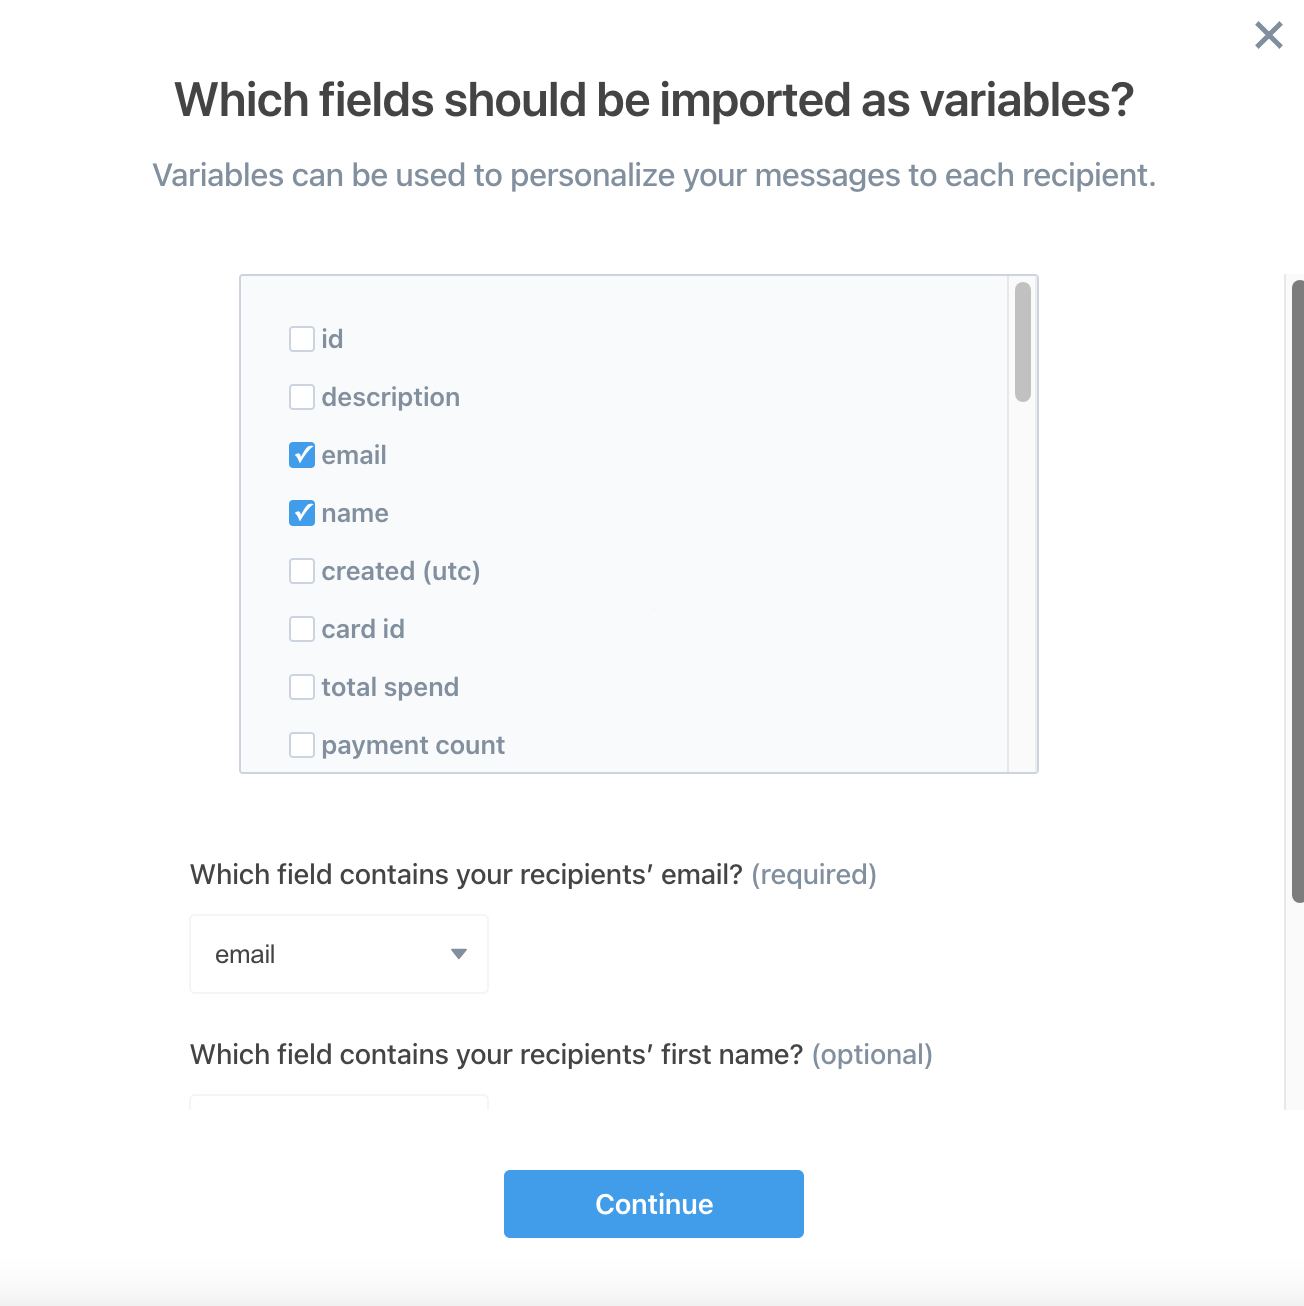
Map your CSV columns to Polymail fields. Use custom variables (like {{FirstName}}) for personalization.
Writing and Personalizing Stages
Each stage represents one email. Start with Stage 1, and click into it to compose your message.
Click Edit Stage to open the editor.
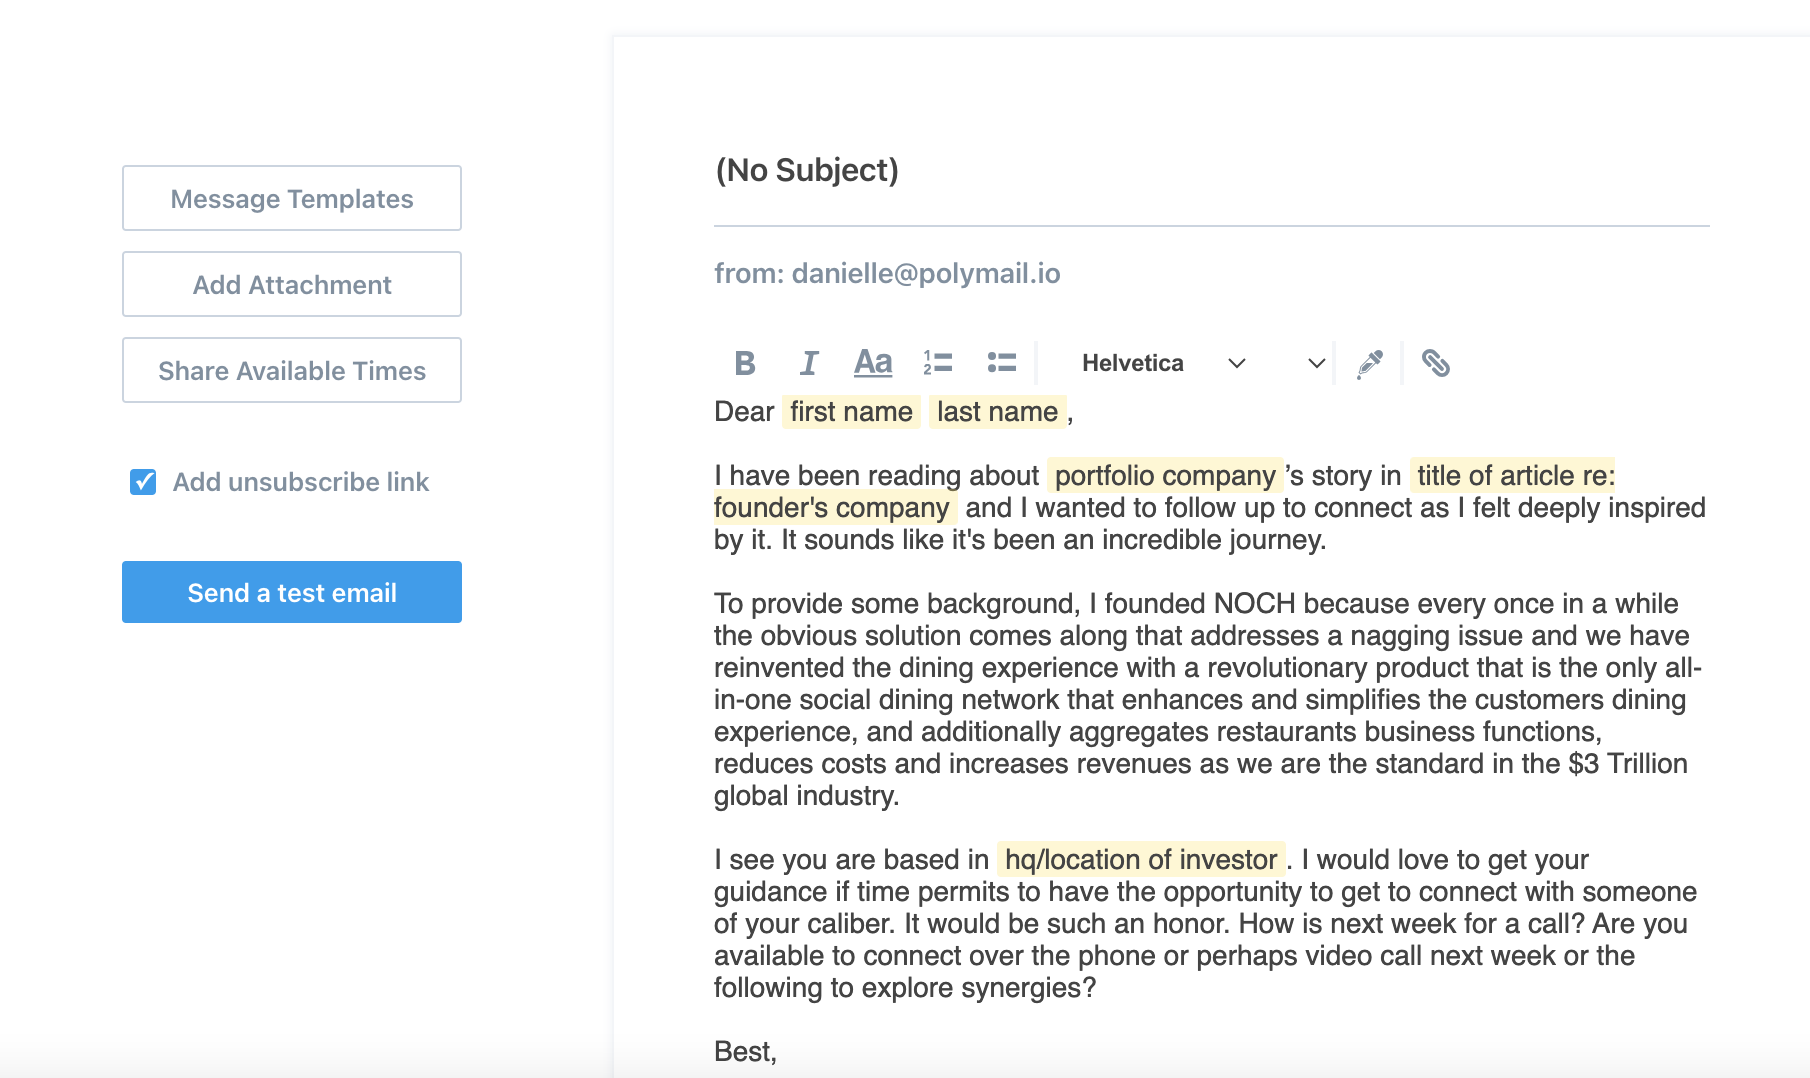
Customize:
Subject line
Email body (use variables for personalization)
Unsubscribe link (optional but recommended)
Using Templates in Stages
Want to reuse a message? Click Message Templates to insert saved content.
Polymail will validate your placeholders:
Matching variables turn black
Conflicts appear red
You’ll need to fix any mismatches before saving.
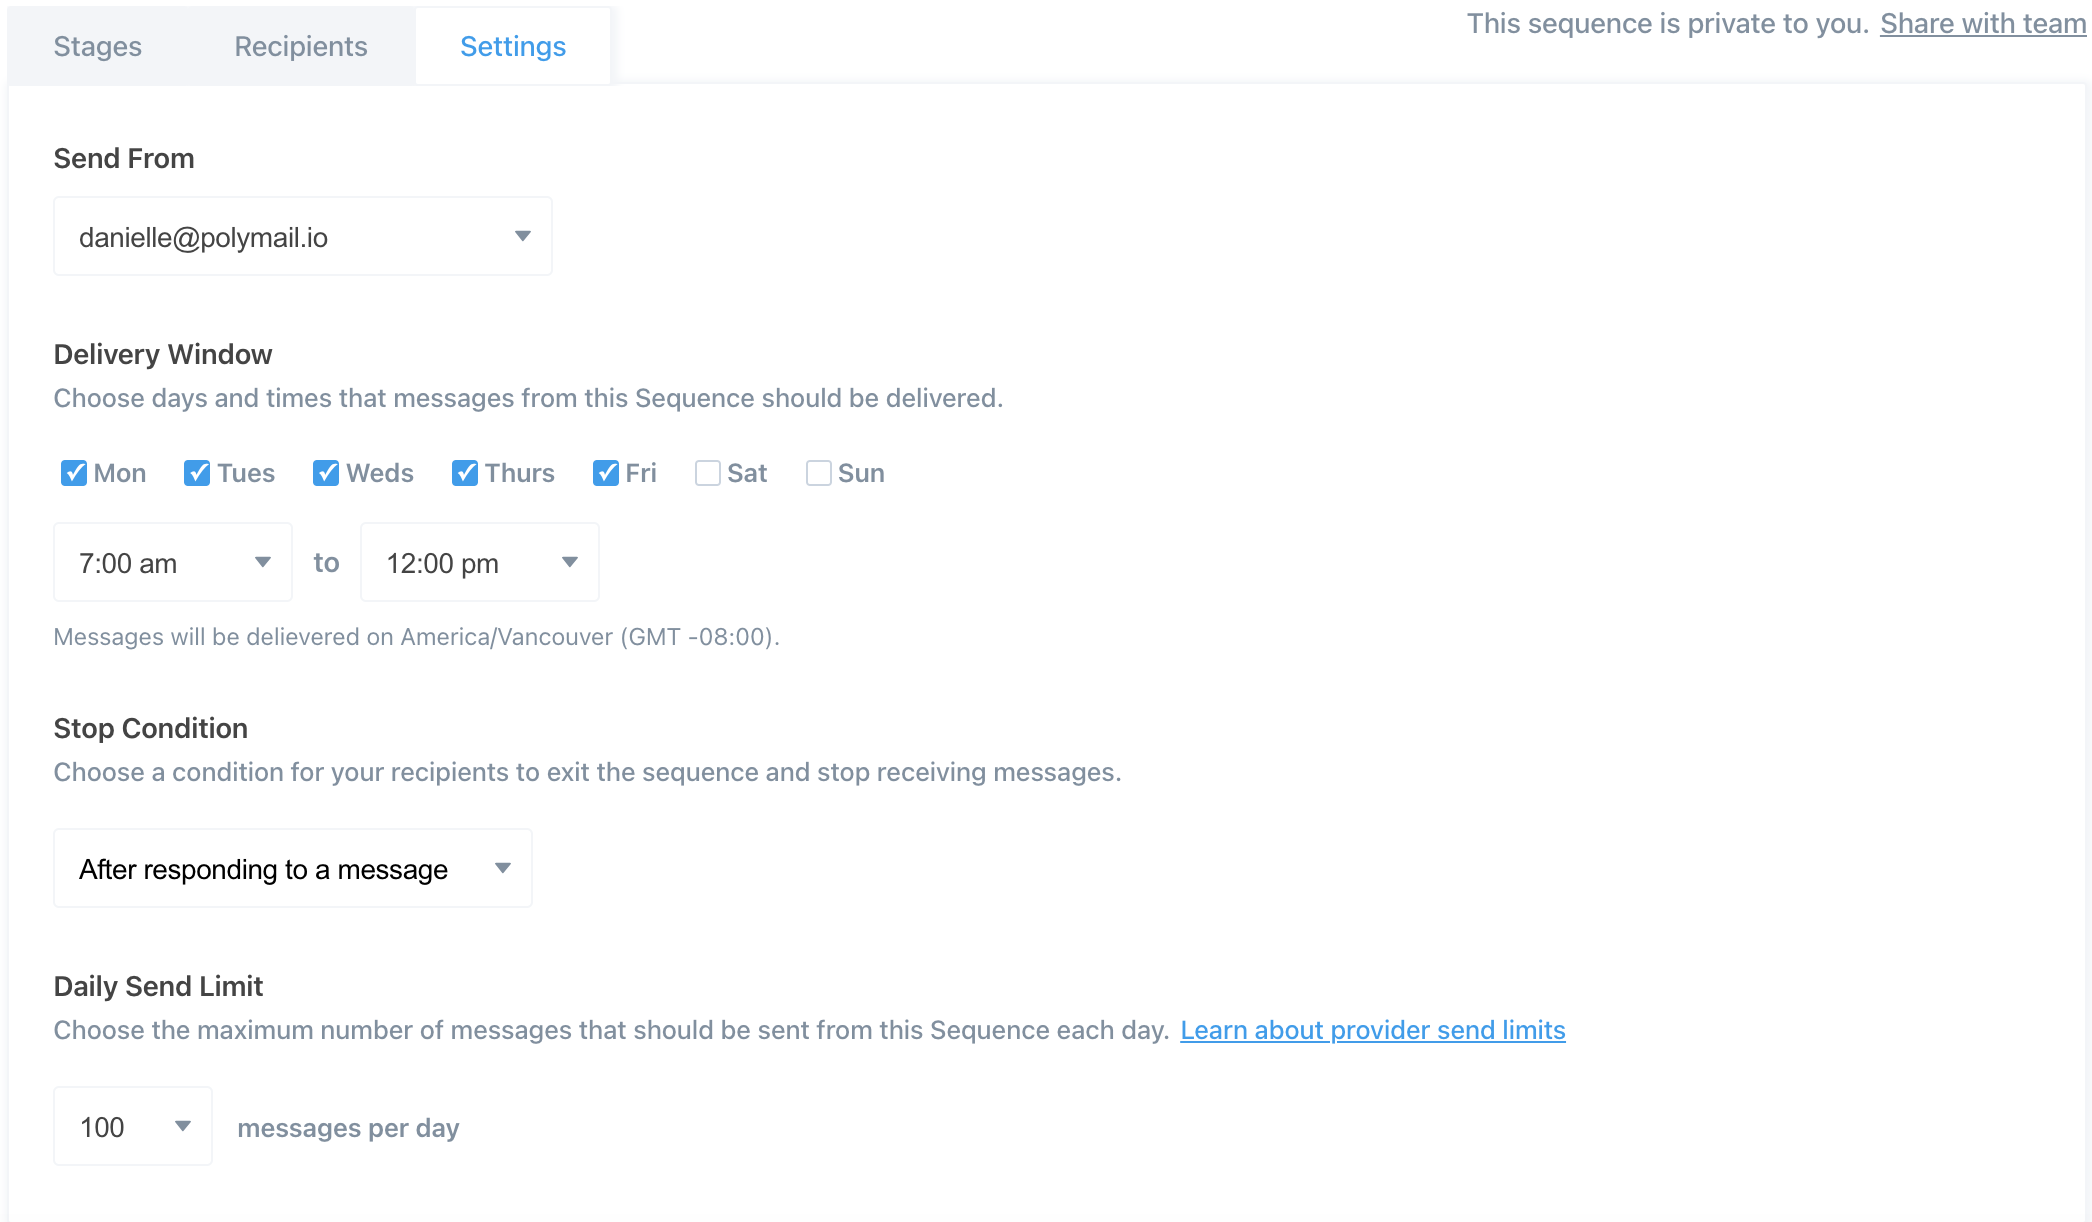
Sequence Settings
Click the Settings tab to adjust:
Send From: Choose the connected email address
Delivery Window: Set delivery days and hours
Stop Conditions: E.g., stop after a reply or send all stages
Daily Send Limit: Prevent email provider throttling. Click here for more on email provider rate limits.
Sending Your Sequence
Click Set Live in the top-right once you're ready.
Recipients marked Active will begin receiving your emails based on the delivery schedule.
Paused recipients won’t receive emails until manually unpaused.
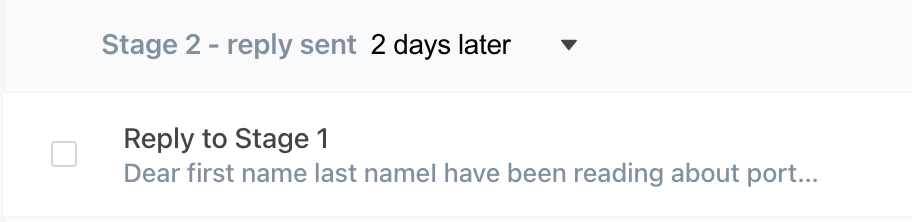
Adding More Stages
Need to follow up? Click + New Stage to add another email to your Sequence.
Choose the delay between stages
Decide whether it’s a new thread or a reply to the previous email
Reactivating Recipients
Added new stages but some contacts are marked Complete?
Click the Recipients tab, select them, and click Reactivate to send them the new stages.

Sequence Engagement Report
Your Sequence dashboard provides a full engagement report:
Open rates
Link clicks
Attachment downloads
Reply status

Important Notes
If you have a Stop Condition set to "After Responding To A Message", then once a recipient responds to one of your Stages, we will mark them as "Complete." They will not receive further Stages in that Sequence.
Once a recipient has been sent all the stages in the Sequence, they will complete your Sequence and will not receive subsequent stages of your Sequence. You can add up to 20 Stages per Sequence.
Your recipient can fall under 6 possible statuses: 1. Active, 2. Paused, 3. Complete, 4. Bounced, 5. Failed, 6. Unsubscribed.
Clicked and Downloaded metrics refer to the percentage of recipients who clicked on links embedded in your email or downloaded files attached to it.